Setting up new Website and Domain on nginx
- Part 1 - Setting up the Virtual Machine and nginx
- Part 2 - Setting up new Website and Domain on nginx
- Part 3 - Setting up Mono on nginx
- Part 4 - Setting up a NancyFX website
- Part 5 - Setting up a ServiceStack web service
The purpose of series is to be able to create an end-to-end setup of a Linux Server on Azure and deploy a brand new production NancyFX website or ServiceStack service, and not get confused in-between. Like I was when I sussed all this out. :)
Prelude
When using IIS I think it's safe to say a large majority of us would use the GUI to configure or create new Web Sites. Even though it's actually possible to create a new website and configure it entirely through Powershell.
But, as scary as it sounds it's not too hard to configure a new Website in nginx. I actually think its easier than doing it with Apache, despite the fact that they are relatively similar.
Where are sites configured?!?
The nginx configuration files are in /etc. The etc directory is for all system related configuration files.
To learn about Linux Filesystem Hierarchy, you can read about them here:
http://www.tldp.org/LDP/Linux-Filesystem-Hierarchy/html/
Navigate to the nginx directory by running the command cd /etc/nginx once you reach the nginx directory run the command ls to see what's in the directory.
The directory listing should look something like.

The main things we will be touching in here are sites-available and fastcgi_params, though the fastcgi_params will be in part 3 when we setup Mono.
fastcgi_params is a configuration file, while the sites-available is a folder. Navigate to the folder by calling cd sites-available
In here if you call ls you will see there's only 1 file called default. This is the default configuration file, we could add more for nginx but to keep things simple we will simply append our website to this file.

Now open the file in nano by calling nano default
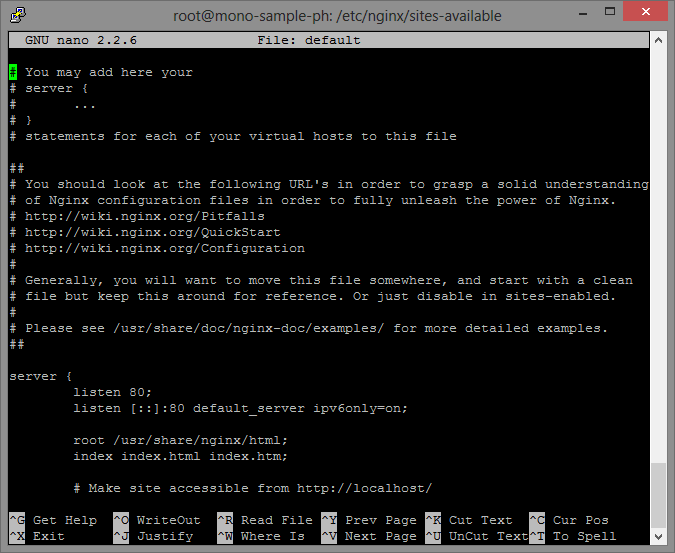
You can see there's a server defined which sort of looks like json. I don't actually know what this formatting is called but it's simply a configuration name with either a value(s) or a scope (defined with braces)
The existing server is setup for localhost. We can add our own, so above the server we want to add the following.
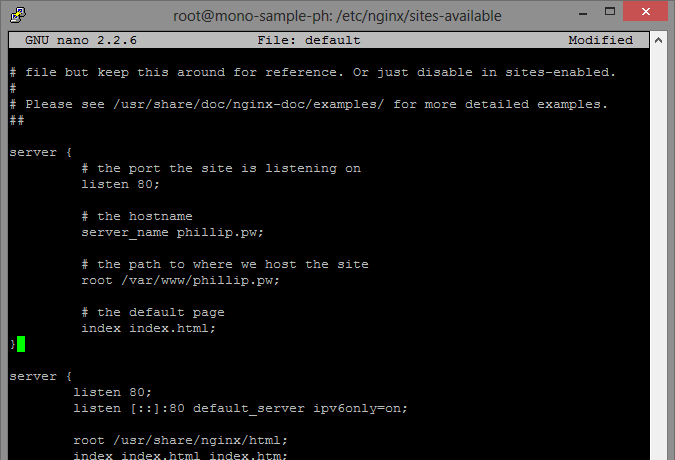
server {
  # the port the site is listening on
  listen 80;

  # the hostname
  server_name phillip.pw;

  # the path to where we host the site
  root /var/www/phillip.pw;

  # the default page
  index index.html;
}
You should end up with your terminal looking like
Now we need to save the file. Do this by pressing CTRL + X
It should then confirm you want to make the changes.

Enter Y to accept the changes, then press Enter to confirm the filename. Don't change the filename!!!
Now you should be back at the terminal.
Note: If it says you don't have permission to change the file then you're not a root user or you didn't run nano as a root user by prefixing the command with sudo
Creating the site directory
For the configuration we put the root as /var/www/phillip.pw, this path shouldn't exist yet (except for var) Based on my reading of the Linux Filesystem, this seemed like the best place to put it. If someone disagrees or knows where it should go please leave a comment.
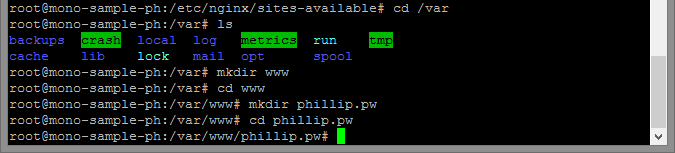
Navigate to var by calling cd /var, then calling ls, you should see there is no www folder. So lets create one by calling mkdir www, navigate to the directory; cd www. And make the next directory; mkdir phillip.pw.
Your console should look something like this
The test file
Now that we are inside our hosting directory we need to create a test file. Call nano index.html which will open up a new nano with nothing in it.

Here we can throw some basic HTML in that looks like:
<html>
<head>
  <title>Our test page!</title>
</head>
<body>
  <h1>Hello World from nginx! Our test page works!</h1>
</body>
</html>
Nothing fancy. You can also write this in notepad and then right click on the terminal which will automatically paste the content in.
Next hit CTRL + X to exit, then Y followed by Enter to accept the changes and save the file.
Bam we're done! (almost)
Update your domain name!
Lastly we need to update our domain host records. I'm using A record for the domain we defined in our site configuration; phillip.pw using the IP from the Azure portal.
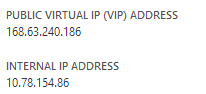
Be sure to copy the PUBLIC Virtual IP, and not the Internal IP. Otherwise you may get angry when things don't work when they should. :)

Save the changes to your domain host records.

Running a quick ping test in Windows Command Prompt should resolve to the correct IP.
The BIG Test
So, does it all work?!?
Navigating to the website http://phillip.pw yields:
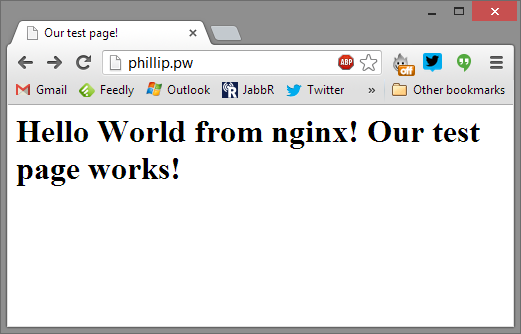
Yay!
What else?
So we only configured the domain phillip.pw, but what if we want both that and www.phillip.pw. We can update the servername to *.phillip.pw which will wild-card.
# the hostname
server_name *.phillip.pw;
Or if we want to be more specific we can do:
# the hostname
server_name www.phillip.pw phillip.pw;
Which will only work for the domain and the www sub domain.
That's all there is to it. Next up... Mono! :D
comments powered by Disqus