Using publish to deploy Azure Cloud Service
In my previous post I created an Azure Cloud Service from scratch and deployed it, however I manually logged into Azure Portal and uploaded the packages.
@cloudnick commented saying that I could that you can use publish directly from Visual Studio. So!
Publishing from Visual Studio directly to Azure
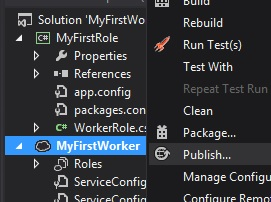
Using the exact same setup as yesterday, rightclick the MyWorker project and select Publish.
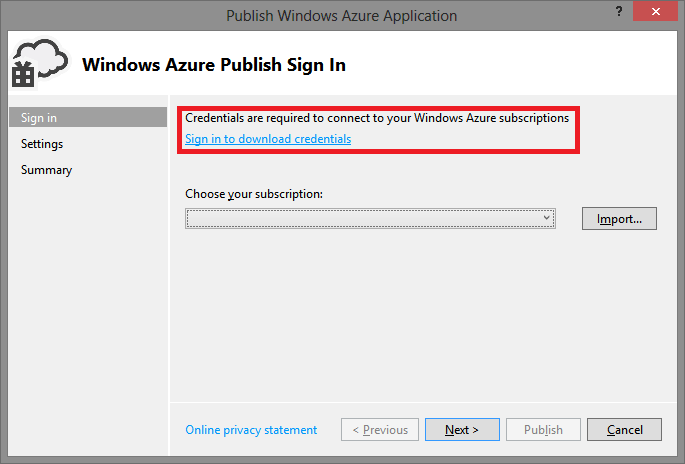
Select Sign in to download crentials
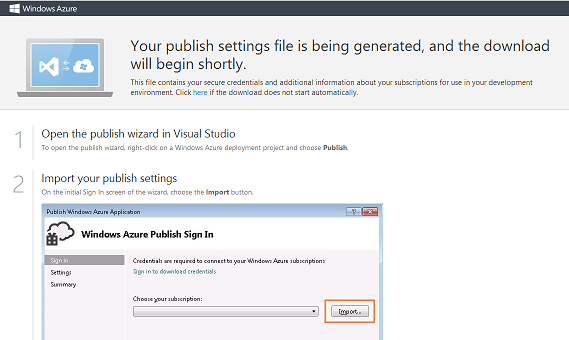
This will take you to a webpage where you can sign into your Windows Live account that has your Azure Subscriptions, with some instructions. The file will download automatically.
Now go back to Visual Studio and import the file.
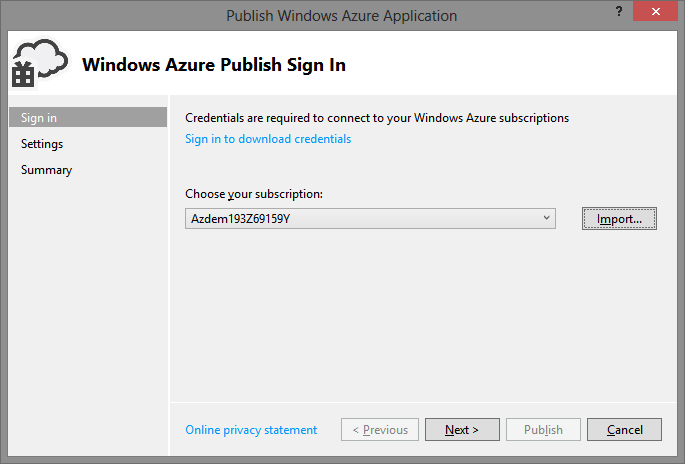
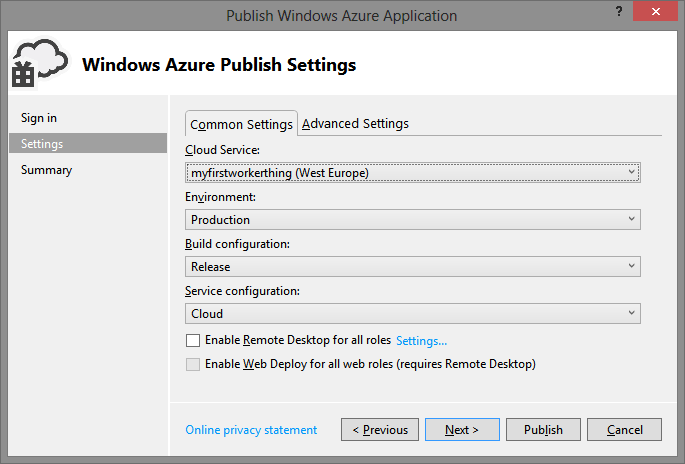
This will open a new screen with some options, it will pre-select any existing cloud service you have, or you can create a new one by dropping down the menu and selecting 'Create New...' if you don't already have one created you can create a new one.
I'm going to select the existing one.
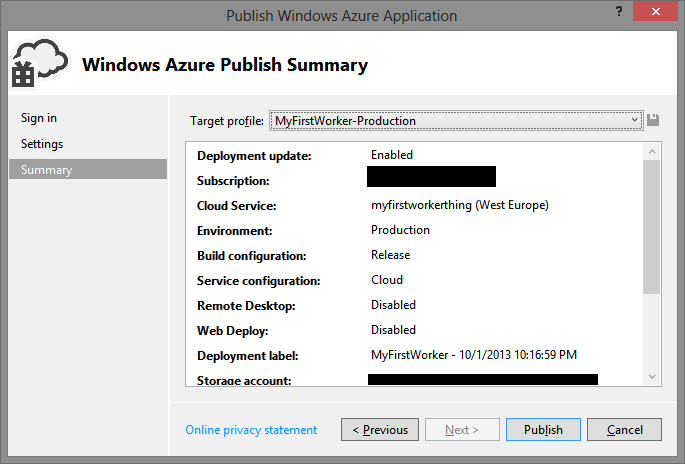
View the summary to save the profile, that way you can re-use it for future deployments. If you press save and want to rename it, you can drop the menu down and select Manage, then you can modify the name.
If all is successful, Visual Studio will open up a Windows Azure Acvitity Log which will show you the deployment process.

This process takes a little while, I guess it depends on your internet connection, I'm on a pretty fast connection but I'm in Singapore, so latency is quite a bit to the US.
Infact it took a about 3 minutes to deploy, for most of that time it looked like.
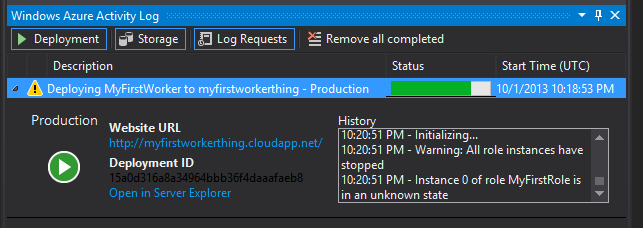
But don't worry, if you leave it long enough, eventually it will end up like.
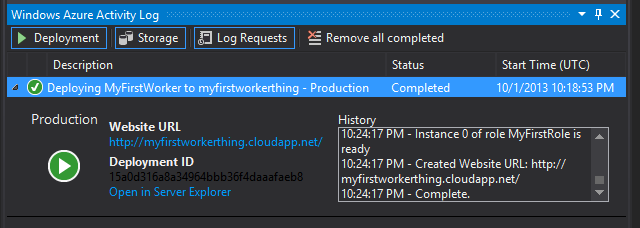
And that's it, now checking RavenHQ again.

So to avoid ever even having to login to Azure Portal, you can Create and Publish a Cloud Service all from within Visual Studio.
comments powered by Disqus