Configuring multiple Forms Authentication sections with NancyFX
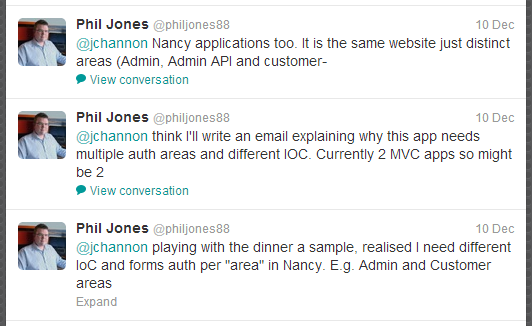
So Phil Jones posted on twitter recently his desire to have multiple Forms Auth's for different area's in a website.
The most common scenario is having an Administration and Member with completely separated logins.
This is actually really easy in NancyFX. Expanding on my previous post:
http://www.philliphaydon.com/2012/12/forms-authentication-with-nancyfx/
I'm going to include a new area and a couple of new modules:
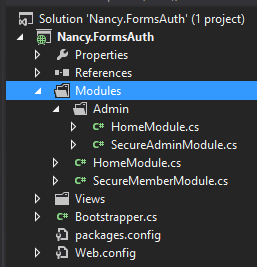
I've added a folder called 'Admin' this is to act as an Area as described in my post about Nancy & Areas.
There are now two Secure modules, both these are really 'dumb' modules that, for the purpose of this sample, do nothing more than manage the authentication for the Main/Admin areas.
SecureAdminModule
public class SecureAdminModule : NancyModule
{
    public SecureAdminModule() : this(string.Empty)
    {
    }
    public SecureAdminModule(string path) : base("admin/" + path.TrimStart('/'))
    {
        this.RequiresAuthentication();
        this.RequiresClaims(new[] { "Admin" });
    }
}
Note: The Admin module passes in 'admin' for the module path, this means all module routes will be within the admin path.
SecureMemberModule
public class SecureMemberModule : NancyModule
{
    public SecureMemberModule() : this(string.Empty)
    {
    }
    public SecureMemberModule(string modulePath) : base(modulePath)
    {
        this.RequiresAuthentication();
        this.RequiresClaims(new[] {"Member"});
    }
}
Note: Both Modules call RequiresAuthentication. This is not actually required since RequiresClaims actually calls RequiresAuthentication.
https://github.com/NancyFx/Nancy/blob/master/src/Nancy/Security/ModuleSecurity.cs#L27
Both modules call RequiresClaims passing in a specific parameter. Admin or Member. This means when we login we can add the specific claim to each user so that they can only access certain portions of the website.
Now that these modules are implemented, we can use these in our modules that we create. So lets add two modules to both area's that will require authentication.
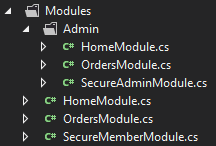
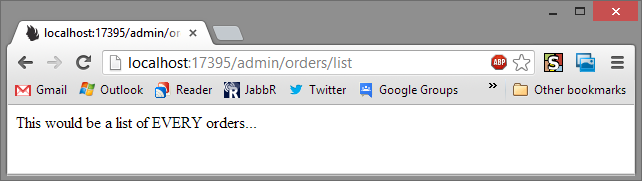
Here's two new Modules, both named OrderModule. One is used for the members to view their orders and order details. And one for the admin to see pending orders and such so he can process them. Basic ecommerce type scenario.
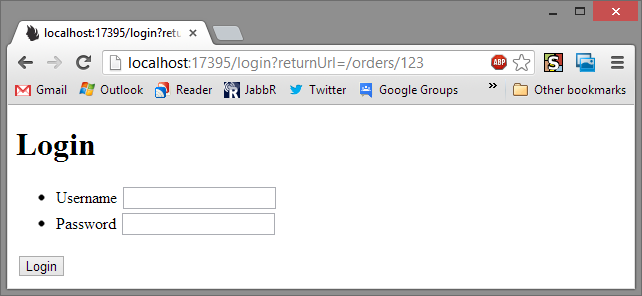
Now if we view each of these pages in a browser:
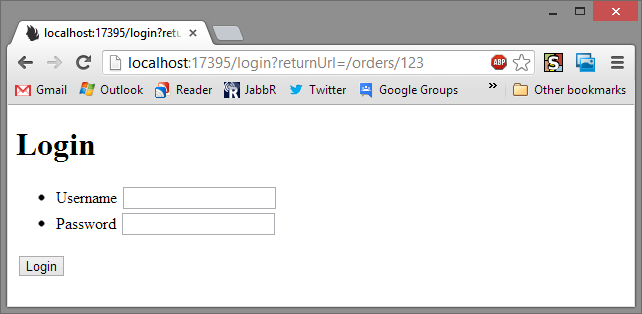
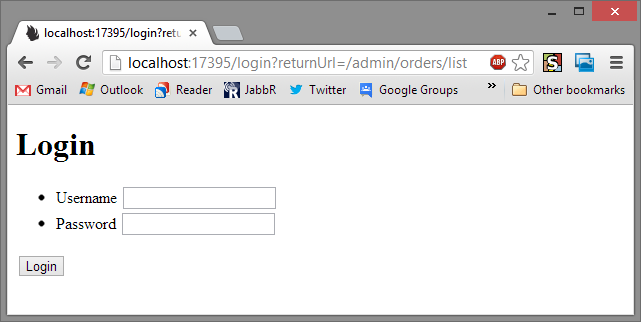
You can see both pages end up at the same login maybe we want to have a different login page for admin. So I'll create a new login, setup just the same as one from the previous post. But now I need to configure them both.
This is where Nancy Bootstrapper comes in handy.
First up - In the ConfigureRequestContainer method, we need to include a second class implementing IUserMapper:
protected override void ConfigureRequestContainer(TinyIoCContainer container, NancyContext context)
{
    base.ConfigureRequestContainer(container, context);
    container.Register<IUserMapper, MemberDBUserMapper>("Member");
    container.Register<IUserMapper, AdminDBUserMapper>("Admin");
}
I've included a new class called AdminDBUserMapper, and renamed the old one to avoid confusion. These classes are what authenticate the user in your system, and map it to an object that NancyFX can handle. In this case an IUserIdentity.
Also, when both classes are registered, I gave them specific names. These are Keyed so that when we want to authenticate an Admin, we can resolve the Admin Mapper.
public class MemberDBUserMapper : IUserMapper
{
    public IDocumentStore DocumentStore { get; set; }
    public MemberDBUserMapper(IDocumentStore documentStore)
    {
        DocumentStore = documentStore;
    }

    public IUserIdentity GetUserFromIdentifier(Guid identifier, NancyContext context)
    {
        using (var session = DocumentStore.OpenSession())
        {
            var member = session.Query<Member>().SingleOrDefault(x => x.Identifier == identifier);

            if (member == null)
                return null;

            return new AuthenticatedUser
            {
                UserName = member.Username,
                Claims = new[] { "Member" }
            };
        }
    }
}
The MemberDBUserMapper is the same as the previous post, it pulls the user from RavenDB, and it add's a single claim. 'Member' this it the claim we used in the SecureMemberModule.
public class AdminDBUserMapper : IUserMapper
{
    public IDocumentStore DocumentStore { get; set; }
    public static readonly ConcurrentDictionary<Guid, dynamic> Admins = new ConcurrentDictionary<Guid, dynamic>();

    static AdminDBUserMapper()
    {
        Admins.GetOrAdd(Guid.NewGuid(), new { Username = "admin", Password = "test" });
        Admins.GetOrAdd(Guid.NewGuid(), new { Username = "admin2", Password = "test" });
        Admins.GetOrAdd(Guid.NewGuid(), new { Username = "admin3", Password = "test" });
    }

    public AdminDBUserMapper(IDocumentStore documentStore)
    {
        DocumentStore = documentStore;
    }

    public IUserIdentity GetUserFromIdentifier(Guid identifier, NancyContext context)
    {
        if (!Admins.ContainsKey(identifier))
            return null;

        var member = Admins[identifier];

        if (member == null)
            return null;

        return new AuthenticatedUser
        {
            UserName = member.Username,
            Claims = new[] { "Admin" }
        };
    }
}
The AdminDBUserMapper is slightly different, rather than pulling from RavenDB, it uses a static in-memory collection of admins/passwords.
Note: I'm not suggesting you do something like this in your system, it's purely for demoing that there are two different ways of getting Users. In a more realistic scenario the Admin would be pulled from RavenDB from a different collection, or from a different Database table when using SQL Server or the likes of.
Now that we have our mapping implemented, we can configure when these are called. In the previous post I implemented the Bootstrapper method: RequestStartup
This time we will extend it with a little bit of if/else logic.
protected override void RequestStartup(TinyIoCContainer container, IPipelines pipelines, NancyContext context)
{
    base.RequestStartup(container, pipelines, context);
    if (context.Request.Url.Path.StartsWith("/admin"))
    {
        var formsAuthConfiguration = new FormsAuthenticationConfiguration
        {
            RedirectUrl = "~/admin/login",
            UserMapper = container.Resolve<IUserMapper>("Admin"),
        };

        FormsAuthentication.Enable(pipelines, formsAuthConfiguration);
    }
    else
    {
        var formsAuthConfiguration = new FormsAuthenticationConfiguration
        {
            RedirectUrl = "~/login",
            UserMapper = container.Resolve<IUserMapper>("Member"),
        };

        FormsAuthentication.Enable(pipelines, formsAuthConfiguration);
    }
}
This method is called for each request, so for each request we will do a quick check to see what the path is, and then wire up the FormsAuthentication for the request.
If the path happens to start with /admin, then we want the user to be sent to the admin login page, if it's anywhere else, we want it to go to the normal login page.
Now if we visit the same two pages again:

The normal orders page goes to the normal login page.
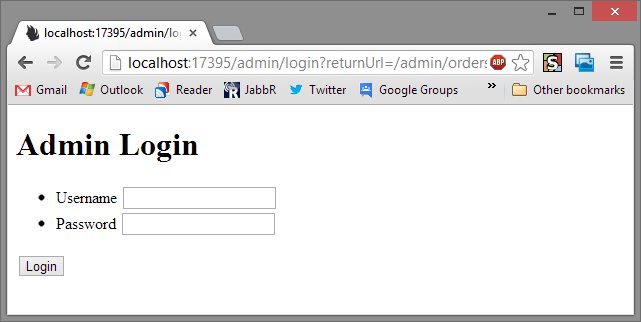
But the Admin order page goes to the Admin login page!
Login as normal user
If we login to the normal website, and we try visit the secure page:
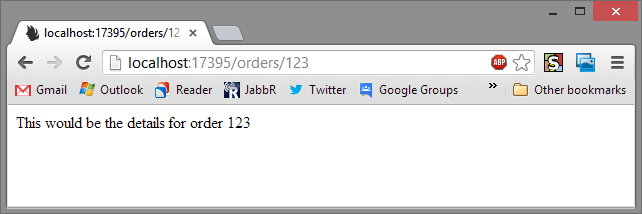
Great! But if we visit the Admin page:
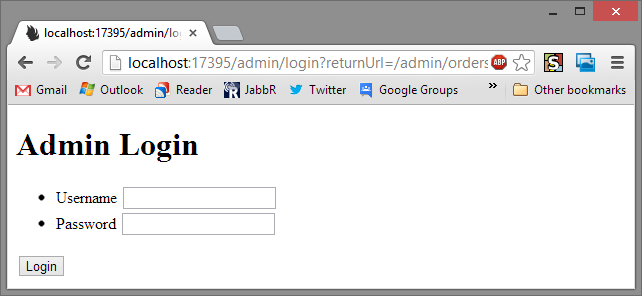
BAM Right back to the login page, access DENIED! Exactly what we wanted.
Login as Admin
Now after logging out and logging back in as an Admin. Visit the Admin page:
WOOOHOO! We have Orders! Now if we try the normal page:
DENIED!
And there you have it. With a little bit of extra configuration you can setup custom Forms Authentication for different area's of your website.
comments powered by Disqus