Hide & Show Buttons with Sencha Touch
I'm currently building a demo for work using Sencha Touch mobile JavaScript framework, and needed to change the state of some buttons dependent on which 'card' is shown.
The Doc Api is a little hard to follow in my opinion, but I eventually worked it out.
In hindsight I guess I could have used a single button to do this, but I will demonstrate it with two.
To demonstrate this I'm going to use a Panel, with the buttons to flick between the cards. Instead of using a TabPanel.
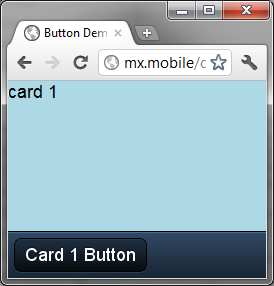
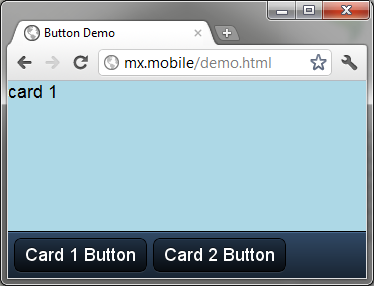
So to start with I have a Panel, with a ToolBar docked to the bottom, a couple of buttons, and two cards.
var rootPanel;
Ext.setup({
    onReady: function () {
        rootPanel = new Ext.Panel({
            fullscreen: true,
            layout: 'card',
            style: 'background-color:lightblue;',
            dockedItems: [
                {
                    dock: 'bottom',
                    xtype: 'toolbar',
                    items: [
                        {
                            html: 'Card 1 Button'
                        },
                        {
                            docked: 'right',
                            html: 'Card 2 Button'
                        }
                    ]
                }
            ],
            items: [{ html: 'card 1' }, { html: 'card 2' }]
        });
    }
});
At the moment it's all nested, so the first thing I'll do is pull the toolbar items out, I'll also assign them to local variables and create them using the Ext.Button type. This gives us access to the methods and events for the buttons.
var btnCardOne = new Ext.Button({
    html: 'Card 1 Button'
});

var btnCardTwo = new Ext.Button({
    docked: 'right',
    hidden: true,
    html: 'Card 2 Button'
});
items: [btnCardOne, btnCardTwo]
You will notice I also set the second button's state to be hidden.
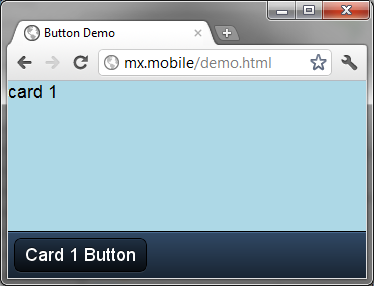
So we still have the same screen, less one button.
Next we want to add an event to the button, like so:
var btnCardOne = new Ext.Button({
    html: 'Card 1 Button',
    handler: function () {
        rootPanel.setActiveItem(1, { type: 'slide' });
        btnCardOne.setVisible(false);
        btnCardTwo.setVisible(true);
    }
});

var btnCardTwo = new Ext.Button({
    docked: 'right',
    hidden: true,
    html: 'Card 2 Button',
    handler: function () {
        rootPanel.setActiveItem(0, { type: 'slide' });
        btnCardOne.setVisible(true);
        btnCardTwo.setVisible(false);
    }
});
Because the buttons are just local variables we can access them in each event, so in the first button, we want to set the active item (card) to 1, turn off button one, and turn on button two.
Then in the second button, we do the opposite. Now clicking each button flicks between the two.